Showing posts with label Kids Recipes. Show all posts

Saturday, November 20, 2021

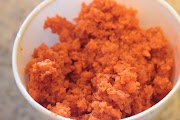
Veg Keema Balls/ Veg Kola Urundai/ Beet Balls/ Beet Falafel

                      Keema Balls/ Kola Urundai is always a non-vegetarian delicacy. But what will vegetarians do???


                   Usually veg keema balls is prepared with meal maker, but we have made this recipe with a super ingredient Beet root. Every women will have a dream to have beet coloured lips. I am not sure if your lips will turn in beet colour, but beet is surely good for our health. 

                 Beetroot lowers the risk of anaemia, promotes digestion, boosts immunity and much more benefits.


Cooking Time: 5-10 minutes
Preparation Time: 20-30 minutes
Soaking Time: 45-60 minutes


Ingredients:

1 cup Beetroot Grated
1/2 tbsp Chilly Powder (can change as per taste)
1/2 tbsp Rice Flour
Salt as per taste
Oil for frying

For Grinding:

1 cup Channa Dal/ Bengal Gram (Clean and soak in water)
1 tbsp Mint Leaves
2-3 nos Green Chilly
1 inch sized Ginger
6-7 cloves of Garlic
2 tsp Fennel Seeds
2-3 sticks of Cinnamon
3 nos Cloves


Procedure:

1) First soak the Channa dal for 1 hour.

2) Meanwhile, we can make the other ingredients ready. Starting with Beetroot,         Peel the outer cover of beet and then grate it.

3) In a mixer jar, put all the ingredients mentioned in for grinding.

4) Now in a pan, put the grated beetroot and saute it, till the raw smell goes off.

5) Then, add the grinded paste along with the beetroot and saute it together.

6) Check for the spice and salt. If needed add a little chilly powder and salt as per your taste. Add the rice flour and mix it together.

7) After sauteing for 5 minutes, let the mixture cool down. Now, make small balls out of it.

8) Now in a kadai, pour some oil. After the oil heats up, put the beetroot balls and fry it in medium low flame.

9) Considering the color of the beetroot, the balls will turn dark so fast. Hence fry it in medium low flame.

10) Now the yummy beetroot balls is ready to be accompanied with your evening tea. Kids will surely love this delicacy.


Wednesday, March 22, 2017

Nethili Meen Varuval/ Netholi Fish Fry/ Spicy Anchovies fry

                                 Sometimes when I crave for something Spicy, crispy and yet healthy, my mind's rapid thought would end with this nethili fish fry only. This is a droolicious recipe, with number of health benefits of the fish.
                               

Thursday, October 8, 2015

Bread Chaat with leftover Chanamasala

                        Leftovers occupy a lot space in most of the kitchens today. Cooking for the exact quantity is considered to be a great skill. Reusing the leftovers, makes me to think. And, hence my thought process yielded with the bread chaat from the chana masala left overs.


              I just toasted the bread, made them into pieces and mixed with the already prepared chanamasala, with few minutes of heating in the kadai. Finally topped with chopped onion and coriander leaves, with a dash of lemon juice added.         


Friday, September 25, 2015

Dal Palak / Spinach Dal Recipe

                               Spinach is considered to be a pregnancy superfood. Spinach and many other greens are recommended for pregnant women, as for the iron content, antioxidant property, etc. This helps to ease the constipation problems especially during pregnancy. That too greens with a dal, is a complete side dish. 

Sunday, August 23, 2015

Mushroom and Carrot Soup with Coconut Milk - A Vegan Soup...

                            A chill and rainy mid-morning weekend, our home has become a proper holiday home with all my family members. I always wish to treat them with a delicious dish to their taste buds and a healthy dish for their stomach. Soups would be the best choice for it. Added they would be a best healthy choice too.

Friday, July 10, 2015

Amla,Ginger and lemon juice with honey for kids

                   Diet, has become a common word today, used regardless of ages. In earlier days, the adults and elders were dieting, but now even children are urged to maintain a proper diet. The big reason behind this is the increased use of the white sugar. Avoid Three Whites (sugar, rice and milk by products) is the regular advice by doctors these days.

                  Memorializing my childhood days in my grandparents house., we used to have morning coffee made with palm jaggery and juices in any form made with honey only and no sugar at all. When as a kid, would refuse spicy side dishes, so honey accompanied my idlis and dosas.

                  Any indigestion problem, my grandma's first aid would be juice made with ginger and honey. All sort of indigestion would have been vanished, for the above drink. Now me as a homemaker, practising the same simple and healthy (yet no side effects) medicine for my family, when necessary. 
Kids would also go for this drink as honey is added.

Thursday, November 13, 2014

Carrot Halwa Recipe without Grating /Gajar Halwa /Punjabi Gajar Ka Halwa

                       If you search for this carrot halwa in any search engines, you will find it as a popular, ultimate, authentic, unusual Indian Desert. Yes, it is and this recipe is something more special which never makes you fall down. Never mind you are new to cooking, bachelor cooking and so on, if you are going to start your first attempt with this carrot halwa, you will end up with increased confidence levels in cooking.

                           This is a special recipe to me as I made this recipe, just after my marriage for inviting my husbands friends. Being very new to cooking, my dessert recipe ended up so well that, gave me a kick start interest in cooking. The ingredients carrot, milk, ghee and sugar will make the wonders in the taste of the recipe.


                    Here again, I had no grater with me, so tried making this recipe with carrot puree. As the carrot puree was made, the cooking time was also reduced. So super yummy, authentic, heavenly Indian desert will be ready in minutes.


Prep time 15 mins
Cooking time 45-60 mins

Ingredients

5-6 nos Carrot (Chopped and made Puree) / 2 cups Carrot Puree or Carrot Grated
2 cups Milk
1 cup Sugar 
2-3 tbsp Ghee

Procedure

1) First chop the carrots and puree it in a blender or mixer grinder. If you do have grater, do grate the carrots.
In a Kadai, add 1 tbsp of ghee and saute the carrot puree or grated carrot.


2) In medium flame, after sauteing for 2-3 minutes, pour the milk. Keep on ladling in between. 
You can see the milk boiling, and keep on stirring in intermediates.


3) Once most of the milk is absorbed, add sugar, cardamom powder and keep on stirring it.
Add ghee in the intermediates. Once done you can see the halwa bubbling.


4) Yes, yummy Indian desert is ready and to be garnished with nuts and raisins. 

               Note:

  • You can also make this recipe with beetroot, which turns to beetroot halwa.
  • Instead of making puree, you can also grate the carrots.
  • This is a stove top method.


                         In just few minutes, you can make this inviting recipe.


Wednesday, October 29, 2014

Sprouts Salad Recipe for Kids with Sprouted Lentil

                               Yesterday I got a chance to go to a library. My intention was to engage my kid over there, to avoid her boredom. But, I found my mind completely refreshed after I went there. Lots of books, lots of kids, lots of people and many new activities. When I was gazing through a book, I found food for kids, food for 20's, food for 30 & 40's, food for 50's and so on. Sprouts is the one item which falls almost in all categories.

                            While making this Sprouts salad recipe, I crumbled some potato chips along with the sprouted lentils, boiled peanuts and some veges. The taste turned to be better. From then I have started adding chips of some sort to the sprouts salad.


Prep time 15 mins (regardless of sprouting of beans)
Cooking time Nil


Ingredients
1 cup Sprouted Lentil / Sprouted Mung Beans.

1/2 - 3/4 cup Peanuts (Boiled)
1/2 cup Potato Chips (Crumbled)
Onion Big (Chopped)

Tomato (Chopped)
1 tsp Pepper Powder(optional)

1 tbsp Cilantro(Chopped)
As per Taste Salt


Procedure
  1. Sprouting of Moong beans is the first step.
  2. Then boil the raw peanuts for 5-6 whistles in pressure cooker.
  3. Crumble the potato chips. Chop the onion, tomato, cilantro and set aside.
  4. Now mix all the above ingredients, add salt and pepper as per taste.
  5. Sprouts salad is ready. 
                          Note:
  • You can add lemon juice if needed.
  • 1 tsp of chat masala can also be added. It gives a good flavor and taste.
  • You can add the chips you wish to add. As potato chips are tender I prefer adding them.
  • You can also add the roasted peanuts, will end in different taste.


Thursday, October 16, 2014

Apple, Ginger and Mint Juice - A cleansing juice.....


                            Running behind my kid with a little ginger juice is like running a marathon for me. I remember my amma(mother) giving me ginger juice at least once in a month, when I was a kid. I will just run out from my glass of ginger juice. But my sister will have this juice without any hesitation. When small, my sister was fond of all sour, bitter, astringent, pungent tasting food.

                          I gave a try of including ginger in apple juice. And my try didn't go waste. On the day of my trial I had some mint leaves. So included them also for the juice. The juice was more than the previous one.


                                 The ginger is a great cleanser/detox agent, with many anti-oxidants in it. Mint is another source of antioxidant, which also aids in digestion. Both ginger and mint, have much more benefits.


Prep time 15 mins
Cooking time Nil

Ingredients

1 glass Apple Juice
1 inch sized Ginger
1/4 cup Mint Leaves
1 tsp Honey (optional)

Procedure

1. Wash the ginger deskin and chop it. Wash the mint leaves.

2. Then in a blender, put the ginger and mint, blend it by adding a very little amount of water (so to extract juice).

3. Now strain the extracted juice and add with the apple juice. Add honey if needed.

4. You can top with ice cubes if needed.

                     Note:
  • Instead of apple juice, you can use apple as a whole also. But should not strain. It becomes a smoothie.

                                       A healthy detox/ cleansing juice is ready. It will surely more than your normal apple juice.


Monday, July 21, 2014

Keerai Vadai using Urad Dhal / Spinach Vada


                  Vadai is a famous snack of South India. In each and every hotel menu card, or starting from roadside shops to five star hotel a seperate space will be given for these vadai/ vadas. In TamilNadu you can see the vada of different types being made in tea stalls, almost from morning to evening. Many people will relish the tea with vada, and some even beat their hunger with these vadas accompanied with tea/ coffee.

                Coming to keerai vadai, is a yummy, healthy evening snack (as it has the benefits of both keerai(greens) and urad dhal). It can be made using urad dhal and channa dhal also. I would prefer to make the urad dhal version always, as it softer than the channa dhal version. We can make these vadas using the different types of keerai(greens) available.


Prep time 2 hours ( For soaking the urad dhal)
Cooking time 20-25 mins


Ingredients 

1 cup Urad Dhal ( whole without skin)
1 cup Keerai/ Amarnath Greens
8-10 nos Small Onion ( if big onion-1)
2 nos Green chilly
1 inch sized Ginger
1 spring curry leaves
2 pinch hing
1/2 tsp cumin seeds
1/4 tsp pepper crushed (optional)
as per taste Salt
as needed Water
as needed Oil ( For Frying)


Procedure

For Grinding the Batter

  • Soak the urad dhal for 2 hours.
  • Grinding can be done either in mixer grinder or wet grinder. But using wet grinder will yeild to better results.
  • After transferring to the grinder donot add more water, just sprinkle the water in intervals for the dough should not get struck in between.
  • The consistency of the batter should be like the butter consistency, so that you will get the perfect vadas
  • For checking if the batter has grinded properly, just dip your fingers in water and then to the grinded batter. The batter should not stick to your fingers. Hence the check done.

For Making Vadas

            The batter is ready now. Now chop the keerai(greens), onion, green chilies, ginger and curry leaves. Add the crushed jeera and crushed pepper and salt. 


            Mix the batter well so that all the ingredients are uniformly mixed.

            Heat the oil in the kadai. In your left hand take a polythene cover grease it with oil. Dip you right hand in wtaer and take some batter so that the batter will not stick to your hands. Put the batter to the polythene sheet and pat it to get a round shape using your right hand. And put a hole in the center of the batter. 

           Again dip your right hand in water and transfer the patted batter into the kadai. Keep the stove in medium flame. Turn the vada both sides so that it gets firm. Wait till you get the golden brown. Then your vada is ready.


Sunday, May 4, 2014

Kadai Vegetable Sabzi/ Kadai vegetables Dry

                            Some two to three years back, when I was working we used to go out for lunch when our project gets completed successfully. In the same way, I along with some of my colleagues accompanied with some of our global partners. By that time I was very new to the company, so I was very quiet and didn't go for any choices in ordering the dishes. Just accepted that anything is fine for me. One of my colleague ordered this yummy Kadai Vegetables and from that day I am a very big fan of it.


                      I was very new to that dish by that time and so was very eagerly waiting for the dish. According to my imagination, I thought the dish would be served in a the Kadai and so the name. But it was not served so in that hotel and the tasty was really good. Having tried only veg kurmas, it was new to me and had some healthy quotient in it too.


Prep time 15 mins
Cooking time 20 mins                 
                       
Ingredients

Onion Chopped

Tomato Chopped
1 tsp Chilly Powder
1 tbsp Coriander Powder
1 tsp Garam Masala Powder
1/4 tsp Turmeric Powder
As per Taste Salt
As needed Water

Vegetables for Kurma

1/4 cup Green Peas
1 Carrot
5-6 nos Beans
1/2 cup Cauliflower (Optional)

1 number Capsicum Green

To Dry Roast and Powder
2 tsp Coriander Seeds

1 tsp Cumin Seeds
2-3 nos Dried Chilies


For Ginger, Garlic and Chilly Paste
1 inch sized Ginger
6-7  nos Garlic Pods

1-2 nos Green Chilies


To Temper
1 tbsp Oil
1 inch sized Cinnamon
2 nos Cloves

For Garnishing

2 tbsp Coriander Leaves


Procedure
  1. First dry roast coriander seeds, cumin seeds and dried chilies and powder it finely.
  2. Then make the paste of ginger, garlic and green chilies.
  3. In a Kadai in medium flame, put 1 tbsp oil followed by cinnamon and cloves. Add the dry roast and ground powder. Add chopped onion, after they become translucent, put the ginger, garlic and chilly paste. Saute well.  
  4. Put all the vegetables chopped, except the tomato and capsicum. Allow it to cook in low heat. Sprinkle some water if needed.
  5. Once the veges are cooked add all the powders, turmeric, chilly and coriander powder. After stirring them uniformly, add the chopped tomatoes and salt. Sprinkle water (if needed) for the veges to get cooked completely. 
  6. After the water is completely absorbed, put the chopped capsicum. In low heat, cook for 4-5 minutes. Finally add the garam masala powder. Switch off the stove and garnish it with chopped coriander leaves.


                           Note:
  • Need not add tomatoes immediately after adding the onions.
  • Adjusting the chilly powder according to your taste can be done.
  • Too much adding of water will turn the whole mushy, so just add water by sprinkling.

                       Enjoy with rotis or chapattis.


Thursday, March 6, 2014

Sathu Maavu Kozhukattai / Nutritious Multigrain Dumpling


                       Sathu Maavu is the most recommended  baby food in Tamilnadu. The kanji made from sathu maavu is consumed by all ages. I remember my amma making this sathu maavu kanji both in sweet and salt version. Especially during summers the kanji mixed with buttermilk and salt will be a great soothers for the hot climate.

                    In my childhood days I spend my summer vacation in my Grandmas's Village. I was a very big fan of these sathu maavu urundai's / balls served in primary health centres and will be back of somebody to get these balls.

                    About this Sathu Maavu Kozhukattai is similar to urundai but with a simple changes made to them. I bought sathu maavu for making kanji for my kid, but she refused to have it. So tried making these Kozhukattai's. They were good that even my kid had some.


Prep Time 20 mins
Cooking time 20 mins


Ingredients 

2 cups  Sathu Maavu/ Nutritious Multigrain Flour
1 cup Jaggery
1/4 cup Fried gram
5-6 tbsp Till seeds black
5-6 tbsp Moong dhal
1/4 cup Coconut (cut into small slices)   
2tsp  Cardamom powder
1/4 cup Water (for making the jaggery syrup)
As needed Water (for making the dough)


Procedure


1. First we have to dry roast fried gram, moong dhal until a good smell comes (No need to wait for golden brown colour). Then dry roast the till seeds until it splutters.

Cut the coconut into small pieces and roast it using a 1/2 tsp ghee.

Using the jaggery, make the jaggery syrup just by adding 1/4 cup of water (No need of any string consistencies). Filter the syrup for dust in it.


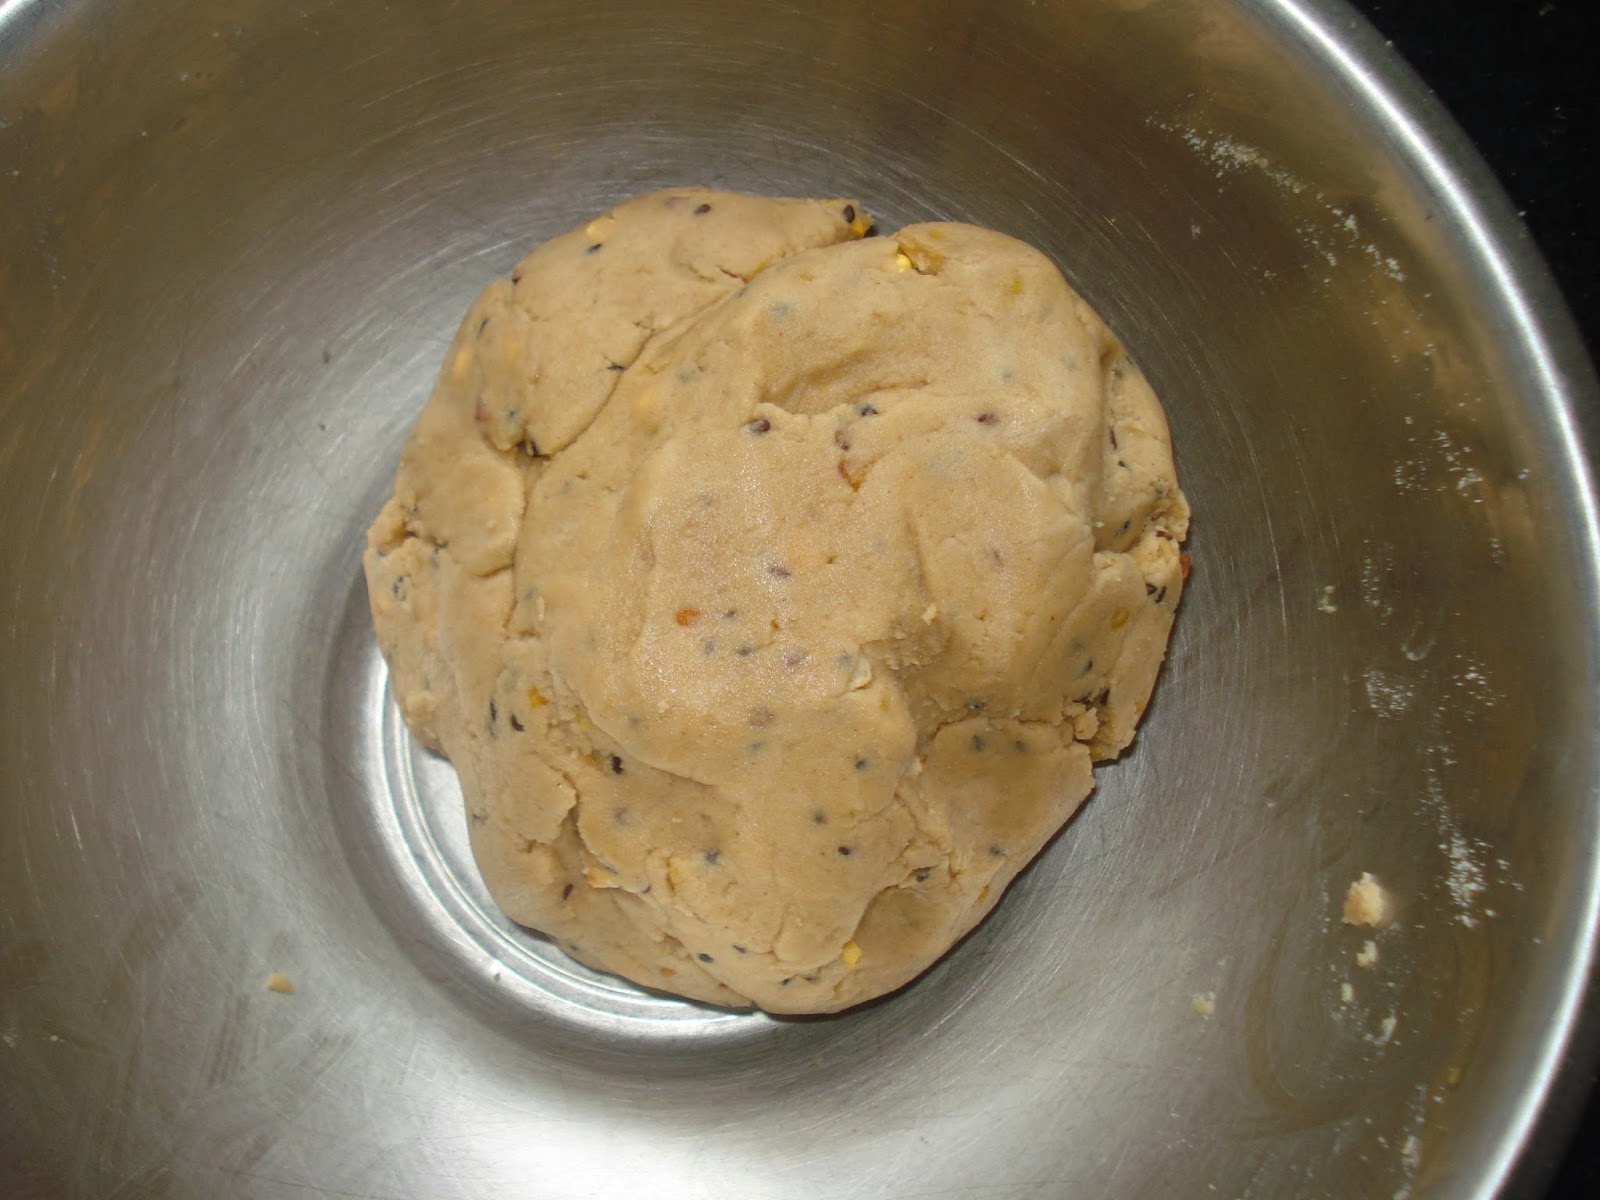
2. Put all the above ingredients along with the sathu maavu and make the dough. For making the dough you can also add water if required.


3. Now make the dough into balls. Take these balls and put them in the idli plate. Pour some water in the idli cooker and place the idli plate( with balls) in them and close the cooker. Allow it to boil. 
It nearly takes 8-10mins for these balls getting cooked fully. Transfer the cooked balls into a plate and then place some more balls for cooking.


                          Once done your sathu maavu kozhukatti is ready to be served. This has shelf life of three days as we are roasting all the items used in this preparation. Can give a try for this different recipe.


                      Note:

  • Checking whether the kozhukattai's has cooked can be done by this method. 
                           Take a spoon, dip the spoon in water and then poke the Kozhukattais, if cooked it will not stick on the spoon.
  • We can make these balls using rice flour, ragi flour and so on.