Friday, June 19, 2015

Tuna Garlic Fry or Tuna Fish Fry with dash of Garlic...

                               Whenever I go to fish market, I prefer a safe play to buy fishes which are well known to me. Recently, my friend accompanied me(to the market), fishes available they were out of our encyclopedias. So, had to try new varieties with help of the fish vendor. My choice was tuna, as the thorns are less.  

                              Tuna, this sounded new to me, but sounds good. when the fish was sliced, the flesh was red in color too, so little more confused now. Once at home, started my fact-finding about Tuna. Came to know that Tuna is also a super food fish similar to the salmon. Has abundant of omega-3 fatty acids in it and selenium too. Researchers have found that mercury related issues is less in tuna, as to others.
                                                
                              Gave a try of tuna fry with added flavor of garlic and cumin seeds along with chilly powder, turmeric powder and salt. 99% of indian cooking includes turmeric powder (excluding sweets).


Prep Time 5-10 mins
Cooking Time 10-15 mins(changes depending on quantity)


Ingredients

5-6 nos Sliced Tuna Fish

1/2 tbsp Red Chilly Powder
1/2 tsp Turmeric Powder
For shallow frying Cooking Oil
As per Taste Salt

To grind and Make paste
8-10 pods of Garlic

1 tsp Cumin Seeds
1 tsp Sesame Oil (for making paste) 

Procedure

1) Wash the sliced tuna and let the water to drain off. I usually wash fish using salt and turmeric powder added.(see note for procedure). Take the ingredients needed for making the fry.

2) Make the paste of garlic and cumin seeds.

3) Mix the garlic paste, chilly powder, turmeric powder and salt using sesame oil and little water(if needed). Now marinate the fish in the mixture.

4) Then shallow fry the marinated tuna and enjoy.

                                   Note:
  • Adding cumin seeds along with garlic will give an enhanced taste. If new to cumin or not needed can omit it.
  • Marinating with sesame oil, makes the fish soft.

                         Procedure to wash fish
  • I usually wash any type of fish adding salt and turmeric powder. When washing with salt and turmeric they both act as an antiseptic. Hence improved health benefit.
  • First I wash normally in running water for two times to remove impurities.
  • Then by adding salt and wash again.
  • And finally with turmeric powder. Hence clean fish.


Thursday, June 18, 2015

Ulutham Paruppu Kuzhambu/ Foods for puberty in girls/ Urad Dal Curry (Tirunelveli Special Recipe)

                               Opps! I am too lazy to cook today, but still I want to give my family a healthy food. It might be the mind voice of many homemakers and mothers, sometimes. Your search for easy, simple, quick yet too healthy dish will end up with uluntham paruppu kuzhambu/ urad dal gravy.

             This recipe may sound new to many and it belongs to Tirunelveli (down south district of Tamil Nadu,India) cuisine. It is same as the dal recipe we make using toor dal or moong dal. Urad dal has abundant nutrients in it; calcium, iron, folic acid, magnesium, potassium, etc,. It is highly  recommended for pregnant women and girls who attained their puberty. Urad dal can be taken in various forms like ulunthu kali , ulunthu kanji. and kuzhambu.                         


Prep Time 2-3 mins
Cooking Time 12-15 mins

Ingredients

1/2 cup Urad Dal (without skin)  

1 tsp Chilly Powder (or as per taste)
1/4 tsp Turmeric Powder
A pinch Asafoetida
As per Taste Salt


To grind

1 tbsp coconut grated
2 nos Green Chilly
2-3 nos Small Onion
1 tsp Cumin Seeds


To Temper

1 tbsp  Oil
1 tsp Mustard Seeds
1 tbsp Small onion Chopped
1 sprig of Curry Leaves


Procedure

1) Pressure cook the urad dal with turmeric and asafoetida added. It takes around 10 minutes.
2) Once the urad dal is pressure cooked, now we can temper it, using mustard seeds, chopped onions and curry leaves. 


3) Once the added onion for tempering has turned into brown colour, pour the cooked urad dal into it. 

4) Then coarsely grind the coconut along with onion and cumin seeds. Now add the coarsely grinded paste and salt to the urad dal mixture.


5) Allow it to boil for 10 minutes for the raw smell of coconut to go off.
6) Now you are done with the urad dal gravy.

                            Note:

  • Even little amount of urad dal will yield more when cooked. So take the lesser amount than the normal amount (of dal you take) during cooking.
  • Green chilly and chilly powder can be increased or reduced as per your taste.
  • Need not be worried of the sticky texture of the gravy, it is it's property.

                        This gravy will be sticky, because of the mucinous of the urad dal. The mucinous property is good for diabetics and anti-cancerous too.
                        When taken along with hot steamed rice and ellu thuvaiyal, you will fall in love with this new dish.


Wednesday, April 15, 2015

Seem Paal / Junnu Paalu / Cow Colostrum Sweet Recipe

                      It has been a very long time, I am into the stream of blogging. Feeling glad to end my long interval with A Superfood Recipe. And the Super-food ingredient is cow's colostrum milk.
                     Colostrum is the fore milk produced by all the mammals after giving birth. This is considered to be the first gift of mother to her child. Packed with lots of antibodies and nutrients, is a low fat and high protein content milk. The cow version of colostrum is Bovine Colostrum.

                      This bovine colostrum is gaining popularity among the athletes and weightlifters. The high protein value is an asset to athletes. The abundance of amino acids in colostrum is considered to be a boon for weight lifters in making them stronger and bigger. Apart from sports and athletic persons, bovine colostrum is used for gastrointestinal benefits.


                     There are various methods of preparing the colostrum milk. Even little watery version is also being prepared in my native. This s a dry version. I have completely reduced the colostrum milk, adding jaggery and cardamom. And the shelf life for this dry version is four to five days, without refrigeration itself. For cold countries/climates the shelf life extends little more.


Prep Time 2-3 mins

Cooking Time 30-40 mins


Ingredients

5 cups Cow's Colostrum Milk/ Seem Paal/ Junnu Paal
1 cup Jaggery / Palm Jaggery (Crushed)
5-6 nos Cardamom (Crushed)

Procedure


1) The colostrum milk is yellow in colour. Shown in the picture below.

2) Crush the  palm jaggery or jaggery, add little water and heat it till it melts completely. Then filter for the impurities.


3) Pour the milk in a wide opened vessel. In medium flame, keep on stirring the milk. Within five minutes you can see the milk forming and then coagulating. By this time it looks like curdled milk.
Keep on stirring it with a ladle. When almost the whole content is reduced to half add the crushed cardamom.

4) When almost all the water is reduced, add the jaggery syrup. Keep on stirring. 


5) When the whole content is out of water, switch off the flame. Allow it to cool down completely and then transfer it to a container.  

                     Note:
  • The foremilk or the first milk produced by cow after giving birth to calf is colostrum milk. Until nine days the cow will give colostrum milk.
  • Even a very large quantity of milk, will yield to a very little output.
  • Instead of palm jaggery / jaggery, sugar can also be added. Sugar is in least preference when compared to the other two.


                   Once when preparing this sweet recipe, I added a lot of jaggery. I had to rectify that mistake, so then added some grinded coconut, which became a new dish. Tasted similarly to theratti paal ( a famous tirunelveli recipe). Will post that recipe in the near soon.


Wednesday, December 24, 2014

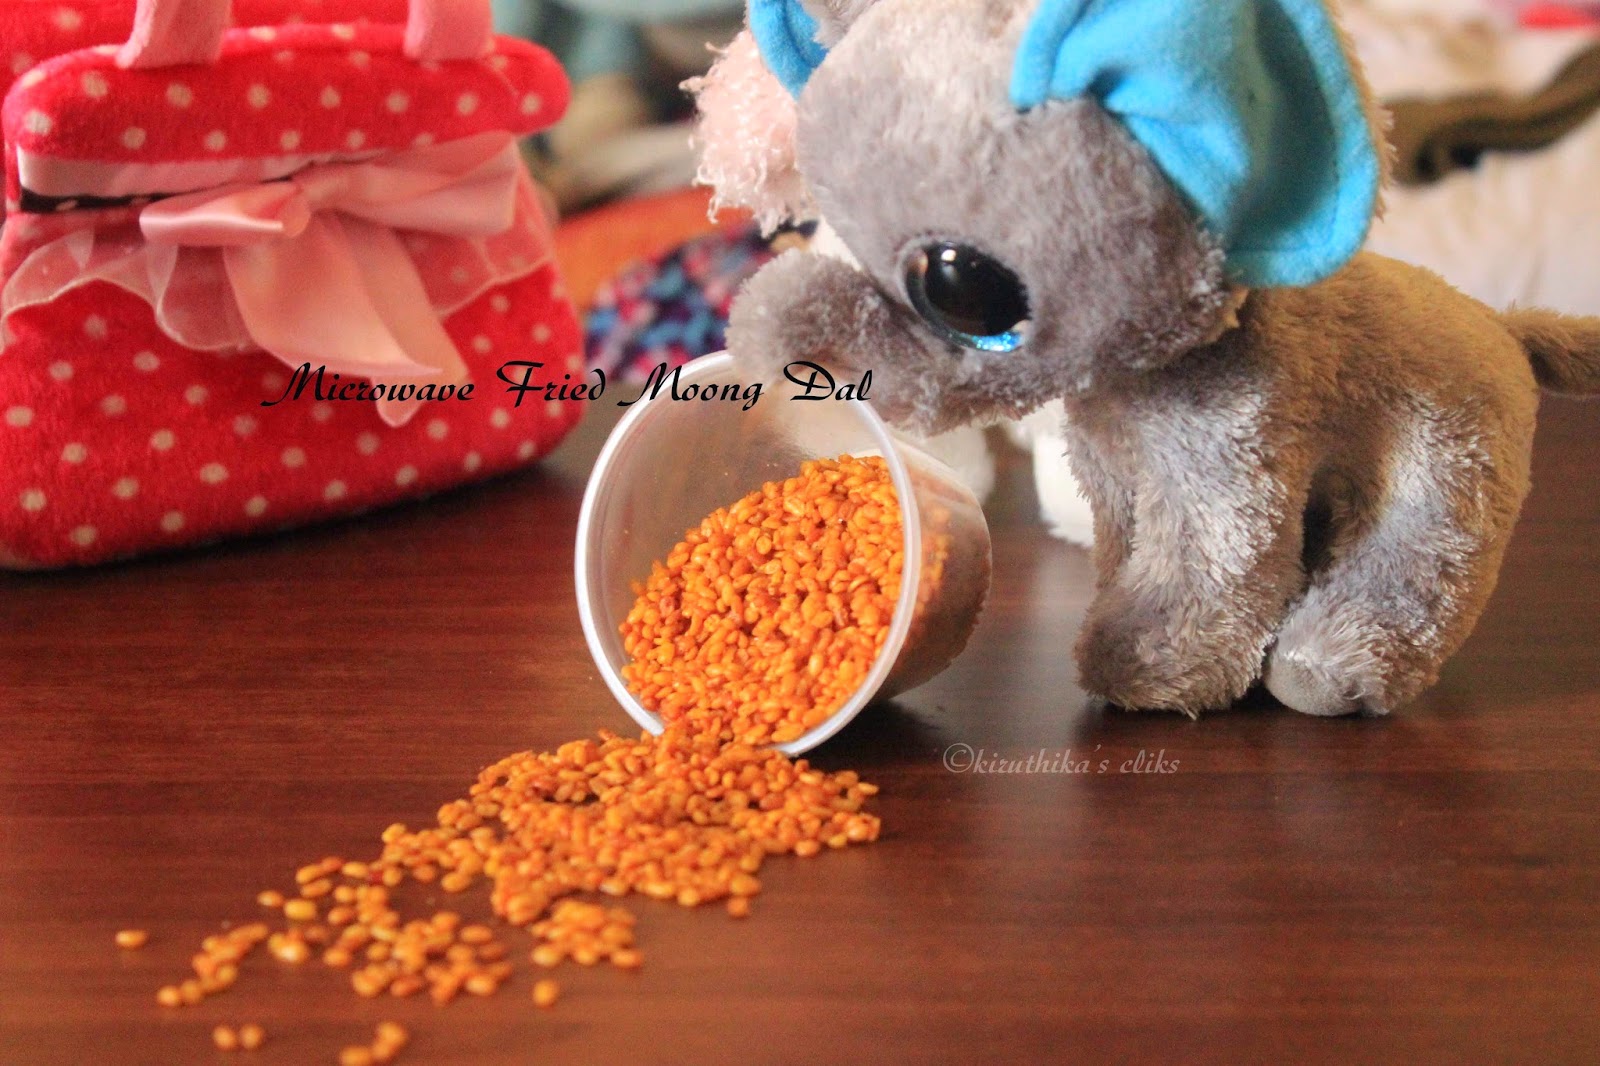
Fried Spicy Crispy Moong Dal using Microwave

                      The weather is absolutely fine. The cool, windy evening with some drizzles in between, makes the evening pure. This increased the thirst for a cup of ginger tea and a crunchy snack. Fine evening or weather, with a cup of tea and crunchy snack would make a best team. Yep, made this moong dal fry for halting my whole day.

                                As many, I am also a huge fan of Haldiram's Fried Moong Dal. They would be a best accompaniment for my long lonely travels. And for people like me, nowadays even small packs are available.

                                   Started making fried moong dal. But after soaking the moong dal, found my ladle (ladle with small holes) for oil frying, missing. Yes, my daughter was playing with it yesterday, while making food for her toys. Remembered my sister's tip on frying pappad using microwave. Hence tried out the moong dal with microwave frying in intervals. They turned out well too.

Prep Time 20 mins
Cooking Time 5 mins


Ingredients

1 cup Moong Dal
1 tsp Oil
As per Taste Salt
As per Taste Red Chilly Powder

Procedure

1) First soak moong dal for 20 minutes. 
2) Then drain off the water and spread it in a towel or tissue for drying.


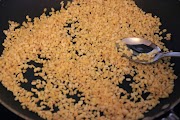
3) Dry roast the moong dal in a kadai in medium flame. In a microwave safe vessel, put the moong dal and microwave it for one minute.
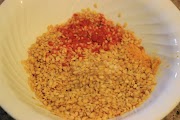
4) Once done, toss it, add oil, salt and chilly powder and mix well. Again microwave for two minutes.


5) Allow it to cool down. Hence your crunchy, low fat moong dal is ready.

                                          Note:

  • You can also avoid the step 3 of dry roasting the moong dal in kadai. Instead you will have to microwave the moong dal, first for two minutes and toss it and again for two minutes. 


Tuesday, December 23, 2014

Cucumber, Papaya and Beet Smoothie

                          This smoothie is also a good outcome of my smoothie experiments. I remember myself turning back for beet(in any form), during my childhood days. The same is happening with my kid and my better half too. So tried making this perfect filling smoothie, with bunch of almost all nutrients.
                          Gulping is easier than chewing, particularly when we don't like the ingredient. Hence the outcome for the smoothie was again a green light.


Prep time 15 mins
Cooking time Nil

Ingredients

1 cup Papaya (Deseeded and Chopped) 
number Cucumber (Peeled and Chopped) 
1/2 cup Beet ( Chopped)
1/2 cup Water
1 tbsp Honey (optional)


Procedure

1. Then in a blender put the chopped papaya, cucumber& beet and blend it until smooth. Add honey also if needed.

2. Transfer it to a container.If necessary add ice cubes.

                                             Note:
  • You can increase the amount of beet also if needed.
  • If you want the smoothie a bit watery, increase the amount of water. But the cucumber added also has water content in it.


Friday, December 19, 2014

Cucumber, Carrot and Tomato Smoothie- A Diabetic Smoothie

                       It is the last day of my week and the weekend is about to start. Friday is the most expected day for almost all, either working, homemakers and kids too. Almost all my fruits are done, waiting for the weekend to purchase fruits and veggies. But still I want my last week day to be hydrated and would like to give a healthy kick start. Remembering the recipe, given by one of my friend, started making Cucumber, Carrot and Tomato Smoothie. 
              
                     In our homes, we will always have of tomato and carrots available. There is a popular saying that "Tomato is an apple for the poor" and fortunately, "An apple a day keeps the doctor away".  Even though the tomato are not priced high, they have a lot of health supplements in them. It is a superfood for diabetes, are packed with vitamin C and are good sources of vitamin A, potassium, and fiber. The nutrient lycopene, which gives red tomatoes their color, is a powerful antioxidant. 

                    Cucumber also falls under the superfood for diabetes, also with good source of vitamin K, vitamin C and potassium. 


Prep time 15 mins
Cooking time Nil

Ingredients

1 number Cucumber (Peeled and Chopped) 
2 nos Carrot (Chopped) 
2 nos Tomatoes (Chopped)
1 pinch Salt (optional)


Procedure

1. Wash thoroughly and chop all the ingredients. 

2. If needed peel and chop the ingredients.

3. Then in a blender put the chopped cucumber, carrot and tomatoes and blend them.

4. Transfer it to a container. Add a pinch of salt if needed.

                     Note:
  • You can avoid carrot, when serving for diabetic. 
  • You can add the cucumber without peeling the skin also (if you wish). 

Saturday, December 13, 2014

Mushroom Pepper Gravy(Curry) with Coconut Milk

                               I remember having hot spicy mushroom soup, during cool and calm evenings, just after my work, in Chennai (South India). Yes, there are some roads which are calm in Chennai too. The hot mushroom soup after a hectic work will be soothing for my throat as well as energizing for the remaining day. I am a huge fan of mushroom always. 
                           

                                This time when I got mushrooms, my mind flashed about milagu kuzhambu served with parota,instead of non-veg we use mushrooms here. The recipe is similar to the milagu kulambu served in Arumugam parotta kadai (arumugam parotta stall), Madurai, in the area Tallakulam. If you got to try it, then whenever you hear the name milagu (pepper), your mind will think of the taste of milagu kuzhambu (served with parota) and nothing else. So tried the mushroom pepper gravy with some coconut milk. The taste was nearing the taste which I had in my mind and craving to eat.


Prep time 15 mins
Cooking time 15 mins                 
                       
Ingredients

2 cups Mushroom 
Chopped
3/4 -1 cup Coconut Milk
Onion Chopped
Tomato Chopped
1/4 tsp Turmeric Powder
1 tsp Garam Masala Powder
1/2 tbsp Ginger and Garlic paste
1 tbsp Oil
As per Taste Salt
As needed Water

To Crush
2 tsp Pepper Black

2 tsp Cumin Seeds

To Saute and Add

Crushed Pepper and Cumin Seeds
1/2 tbsp Coriander Powder
1 tsp Chilly Powder

For Garnishing
2 tbsp Coriander Leaves


Procedure

1) In a Kadai in medium flame, put 1/2 tbsp oil, add chopped onion, after they become translucent, put the ginger garlic paste, saute well. Once the raw smell of the ginger garlic paste goes off, add the chopped tomatoes.
2) Then add the chopped mushrooms . Saute them till they are half cooked. You can sprinkle water if needed. Add the turmeric powder by now.


3) In another kadai, add a little oil, put the crushed pepper and jeera, followed by the chilly and coriander powder. Saute for few seconds and add it to the above cooked mushroom.
4) Then finally add the coconut milk and garam masala and allow it to cook for 5 minutes. Switch off the stove and sprinkle the chopped coriander leaves.


5) Hence the mushroom pepper gravy will be ready in lesser time, but the taste will be great. The flavor of coconut milk with mushroom will give the gravy to an enriched taste.


                               Note:
         You can add water depending on the consistency of the gravy you need. If you need it bit dry then coconut milk will be enough or else add water as per your need.